 |
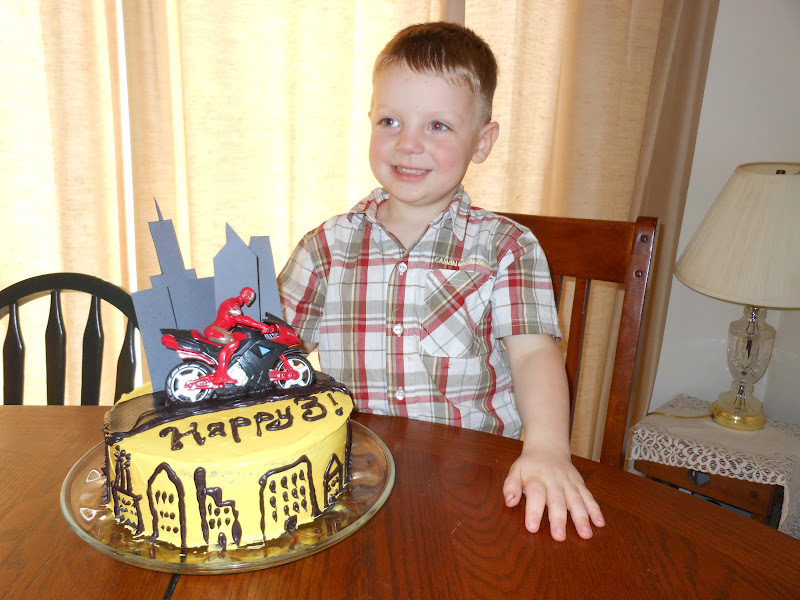
| His Birthday Finally Arrived!! |
 |
| The Mat All Finished!! |
This is the second part of the Car Mat/Blanket Tutorial, and I am as excited as you are to have it done for the boy's birthday!!
The biggest problem I had researching for this was I just needed closer and lots more pictures of what these wonderful moms had done already. I found
this place that was good, but here are mine so you have more to look at and get those creative juices flowing!
 |
| USAF Fire Station 1 complete with flag and dalmatian. |
 |
Farm where Grandma C grew up complete with apple tree, corn field, and a chicken.
The corn I hand embroidered into the striped field. It really made it POP. |
 |
Who doesn't like their local ice cream store?
The roads are black felt heat-n-bonded on then just straight stitched with yellow along the edges.
I only used the applique stitch in black on seams where two roads met. There is a smaller applique stitch in yellow down the middle of the roads. This was my last sewing step and it felt good to have it down. |
 |
| A downtown Chicago building. |
 |
John Hancock Building. This one has the iron cross sections and radio rods on top of it.
The cross sections are just straight stitching diagonally across. |
 |
| 'Da Bears play at Soldier Field. |
 |
My Hubby is a South-sider (White Sox) and I bleed blue (Cubs). I tried to find some icons for it, but didn't succeed.
I will add patches later if I can find them. |
 |
| School house with swings, flag, and ringing bell. |
 |
| All-Star Gasoline the pumps are the ends of one shoelace. |
 |
Train station with tracks and sign. The sign has a train button; the tracks are black ribbon sewn
down the middle to stabilize and grey piping sewn over the ends about 1.5 inches wide. |
 |
Camping in the mountains. The tent has red stitching to show lines in the tent, applique around,
and white lines out and to the the stakes. The fire and trees are appliqued on wood then leaves or flames. |
 |
Mountains are for camping. I put the "Y" detail on because our boy was born right next to a mountain
with a very similar "Y" that lit up on a good night. |
 |
Our home looks simple, but there are five separate parts to the building: chimney, roof, structure,
windows and door. Make sure to get every piece with your applique stitch and in an order that makes sense. |
 |
Trees were TOUGH, but we have forests in Illinois. Everyone is slightly different, but every one was a pain
because of the curves in each one. I skipped my normal three passes on applique and only did two on these. |
 |
| Our public library has a funky roof line and TONS of glass. |
 |
| My hubby builds furniture, so naturally this is where most of the cars end up helping Dad. |
 |
I know it is supposed to have a t at the end, but t or not, the boy knows exactly what this store is.
The orange strip across the center is just the same applique technique I have been using just in a straight line.
The flag poles, radio poles, masts, swings and similar architecture features are all done the same way. |
To finish off your blanket, you need to get the back material attached to your front material and bind it together. I used clear thread and went around each buildings outline to bind the two fabrics together. You could quilt it more traditionally if you like, but I'm lazy. The clear thread was difficult to work with and probably took the most patience. I made my own binding using
this tutorial since I had never made my own. Pin your tape around your blankets outer edge and sew around all the edges.
Spread it out and get all the cars ready for a few hours of well deserved quiet time.
 |
| Entertainment for at least a few minutes! |
Happy Birthday My Boy!
 |
| Woke up to Balloons and a supersized poster of himself. |
 |
| That is his "happy face." |
Let me know what you think in the comments. Hopefully this was helpful and you get started on your own little man's--or little girl's--car mat soon!


No comments:
Post a Comment